Tips for Hanging Christmas Lights
The holidays are quickly approaching, which means now is the time to get those holiday lights hung — before you’ve procrastinated, it becomes too cold, and the whole project gets shelved until next year. If we’ve learned anything from Clark Griswold in Christmas Vacation, it’s to give yourself plenty of time to get things right (and avoid injury). So let’s get started! Refer to our tips and resources below for a beautiful, festive display your family and your neighborhood will love.
First, Make a Plan
Once you’ve decided to hang lights, you may want to just grab the box from the basement and head outside. But hold off until you get a basic plan in order and can answer these questions: What are the focal points of your display? What is the distance from your lights to your power source? How many light strands do you need? And most importantly, who will help? (This is another lesson learned from Clark — don’t try to do it all yourself!)
Before doing anything else, get out any leftover lights you already have and check to see if they’re still working. Nothing ruins the holiday spirit faster than hanging Christmas lights on the roof and then discovering they don’t work when plugged in. For an even more relaxing experience, break this project into two days: one to plan your lighting design and shop for everything you need, and one to get everything hung without feeling rushed.
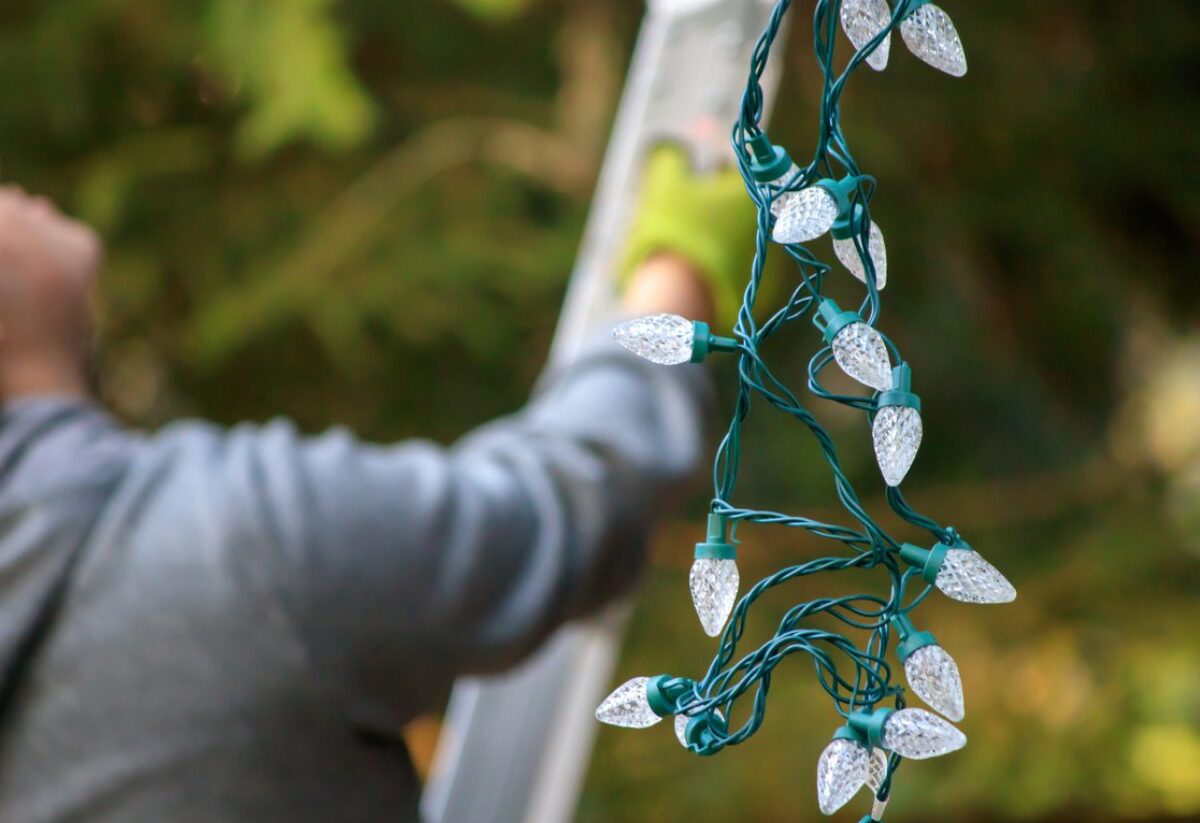
Gather Your Supplies
Now it’s time to gather the items that will save you time and money so you can enjoy your display with the best gift of all — peace of mind. Before you go shopping for any additional lights you need, add these items to your list:
- Tape Measure: It may seem like a step you can skip, but measuring ahead of time (add up all the straight lines of the house you’ll be lighting) will help you determine what length/number of light strands you need when hanging Christmas lights.
- Extension Cords: Once your measuring is done, you’ll know how many extension cords you need and can pick any extras up while getting your lights.
- Ladder: Make sure you have a wood or fiberglass ladder that’s in good condition — don’t use a metal ladder, which can conduct electricity. For storage of your ladder or other large Christmas décor items, see our range of storage unit sizes at Self Storage Plus.
- Light Clips: Ensure your light display is secure when attaching to the outside of your home by first attaching the lights to light clips. Make sure you purchase the right kind, depending on where you plan to add lights (universal clips are best for the roof, while adhesive clips work best for columns or railings).
- Timer: Christmas cheer shouldn’t come at the price of a high electric bill next year. Set your lights to come on and go off at your control, and then you don’t have to think about it again until it’s time to take down your holiday lights.
Choose the Right Lights
Nowadays, there are so many different types of holiday lights that it can be overwhelming to decide. But it really comes down to your personal preference on color, size of bulb, and choice between incandescent and LED Christmas lights. LEDs cost a bit more upfront, but last longer and use less energy overall. Depending on the style of decorations you like, and the outdoor areas you plan to adorn with lights, the following categories are ones to consider:
- Mini lights, especially wide-angle LED mini lights, can blend into the background when not in use.
- Icicle lights are great for a winter wonderland look, especially when clustered together over a porch or on the roof.
- Net lights are a one-and-done option for draping over bushes or outdoor Christmas décor, as they’re already strung together and spaced evenly.
- Twinkling light strings can add a soft, romantic feel to your holiday light display, especially around planters or patio areas.
- Animated lights are a great option for more colorful, whimsical displays.
Hang Them Right the First Time
Once you’ve measured the area, tested the lights, have all your supplies, and help is on hand, it’s time to add Christmas lights to your house! Start with the highest point (such as the peak of the roof) and then work side to side before moving down, to ensure you’ve got a power source for light strands on the end. Leave smaller areas like railings, shrubbery and trees for last, since you may use different lights for those, and you want to do the hardest work first.
Remember, safety first! Never climb a ladder on the back side, or with only one hand. And before overloading outlets, see this handy guide to Christmas lights wattage, to ensure your Christmas décor is both beautiful and safe.
Save Time Next Year
We hope our guide to hanging Christmas lights has been helpful, but that’s not all we can do to help make the holidays more enjoyable. Once you’ve taken down the lights, skip the stress of finding room for your holiday lights and keep them organized — and protected from damage — in one convenient spot, with Self Storage Plus. Ask about our climate controlled storage for all your seasonal items by finding a location near you.